Most bad pet photos share the same problems: flash, overhead angle, and a distracted animal. Fix those three things and the results improve immediately. This guide covers the techniques that actually move the needle — from lighting and camera settings to working with different animal personalities — including how the same principles apply when a pet sitter or dog walker sends photo updates to an owner who is away.
Start with your pet's personality
The most technically correct photo is useless if your pet is stressed, distracted, or has already walked out of frame. Before picking up a camera, spend a few minutes observing your pet in their normal state. A dog who is lying down after a walk and genuinely relaxed will give you a completely different set of photos than one who is pacing, alert, or over-stimulated.
Shy pets need patience rather than pressure. Forcing a cautious cat in front of a camera produces defensive postures and averted gazes — not the images you want. Sit near them, let them approach on their own, and shoot opportunistically when they're comfortable. Energetic pets, particularly dogs, are easier to work with after exercise. A dog who has just come back from a dog walking session and burned off energy is calmer, more focused, and easier to direct than one who hasn't been out yet.
If you're photographing a pet who is not your own — as a dog sitter, cat sitter, or dog walker would be — give the animal time to register you as safe before pointing anything at them. Phones and cameras can startle unfamiliar pets, and a pet who associates you with something alarming will show it in every shot.
Lighting: the variable that matters most
Natural light is the most forgiving and flattering light source for pet photography, and it costs nothing. The best positions are near a large window with indirect light — not direct midday sun, which creates harsh shadows and causes squinting. Overcast days outdoors produce soft, even light that works well for almost any subject and coat color.
Avoid flash at close range. Flash aimed directly at a pet's eyes causes the retinal reflection that produces glowing pupils in photos, it startles most animals, and it flattens the image by removing natural shadows. If you're in low light, move toward a light source rather than activating flash. A slightly noisier photo taken in good natural light is almost always better than a flash-lit shot.
Side lighting — where the light source is to the side of the subject rather than behind the camera — creates depth and brings out coat texture in a way that flat frontal light doesn't. If you're near a window, position your pet so the window is to their side rather than behind you.
Camera settings for pets
Shutter speed is the most important camera setting for pet photography. Animals move unpredictably and quickly; a shutter speed that works for a static portrait will produce motion blur the moment they turn their head. Start at 1/500th of a second as a baseline for a calm, seated pet and go faster — 1/1000th or higher — for any kind of movement or play. On a smartphone, using burst mode (continuous shooting by holding the shutter button) achieves a similar result, giving you several frames to choose from rather than gambling on a single shot timed perfectly.
For cameras with manual or semi-manual control, aperture priority mode (Av or A) with a moderately wide aperture (f/2.8 to f/5.6) blurs the background and keeps focus on the animal. Use continuous autofocus (AI Servo on Canon, AF-C on Nikon, or the equivalent on your camera) rather than single-point focus for moving subjects — it tracks the animal rather than locking on a fixed point and losing the subject as they move.
On a smartphone, tap the screen to focus on your pet's eyes before shooting. Eye contact with the camera is what makes most portraits compelling, and the camera needs to know that's the priority subject.
Framing, angles, and composition
The single most effective compositional change in pet photography is getting down to eye level. Photographs taken from standing height look down on an animal, which produces a foreshortened, distorted perspective and makes the pet look smaller and less present. Kneeling, lying on the floor, or positioning the camera at the same height as your pet's face changes the image entirely — suddenly you're looking at them rather than down at them.
Keep the background simple. A cluttered background competes with the subject; a plain wall, a stretch of grass, or an out-of-focus natural environment keeps attention on the animal. You don't need a studio — a corner of a room with good light and a clear wall behind it is enough.
Leave some space in the direction your pet is looking or moving. A dog facing left with their nose near the left edge of the frame looks cramped; the same dog with space to the left looks like they're heading toward something. This principle — leaving room for direction of gaze — is basic composition but makes a visible difference in how alive and purposeful the shot feels.
Photographing dark-colored pets
Black cats and dark-coated dogs present a specific challenge: cameras tend to underexpose dark subjects, losing detail in the coat and producing a flat black mass rather than a textured animal. The fix is deliberate overexposure relative to what the camera suggests automatically. On a smartphone, tap the darkest part of the fur to set exposure to that area; the camera will adjust to render the fur lighter and reveal more detail. On a camera with manual control, dial in positive exposure compensation of +0.5 to +1 stop when photographing dark pets.
Side lighting matters more for dark pets than for lighter ones — it creates the contrast and highlights that define the coat texture and prevent the subject from disappearing into the background. Avoid shooting a black cat against a dark background for the same reason. A lighter background creates separation and makes the subject visible as a distinct shape.
Capturing action shots
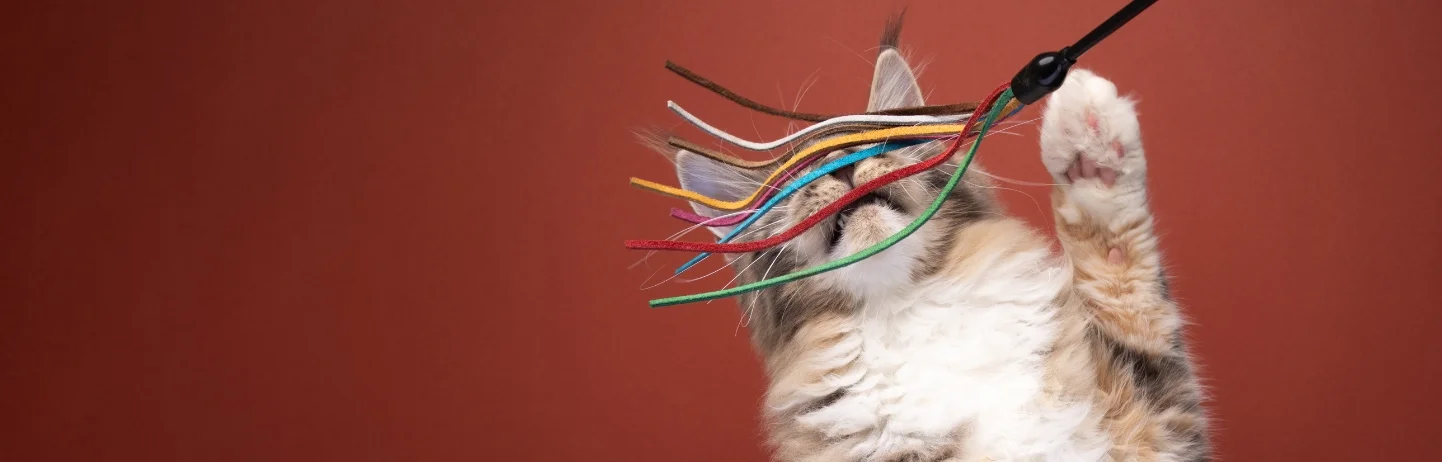
Action shots — a dog mid-jump, a cat in full stretch reaching for a toy — are among the most engaging pet photos, and also among the hardest to execute without blur. The key variables are shutter speed (1/1000th of a second minimum for fast movement, faster if possible), continuous autofocus, and burst mode to capture a sequence rather than a single frame.
For dogs, throw a toy toward an open space and shoot as they run to retrieve it. The direction of movement is predictable, which makes it easier to keep focus. For cats, use a toy on a string to direct their movement — dragging it in a consistent arc gives you a repeatable action you can shoot several times rather than trying to catch a spontaneous leap. Dog walkers and pet sitters who want to capture good action photos during a walk or play session follow the same logic: choose an open space, control the direction of movement, and shoot in burst.
Photo updates: what pet sitters and dog walkers should know
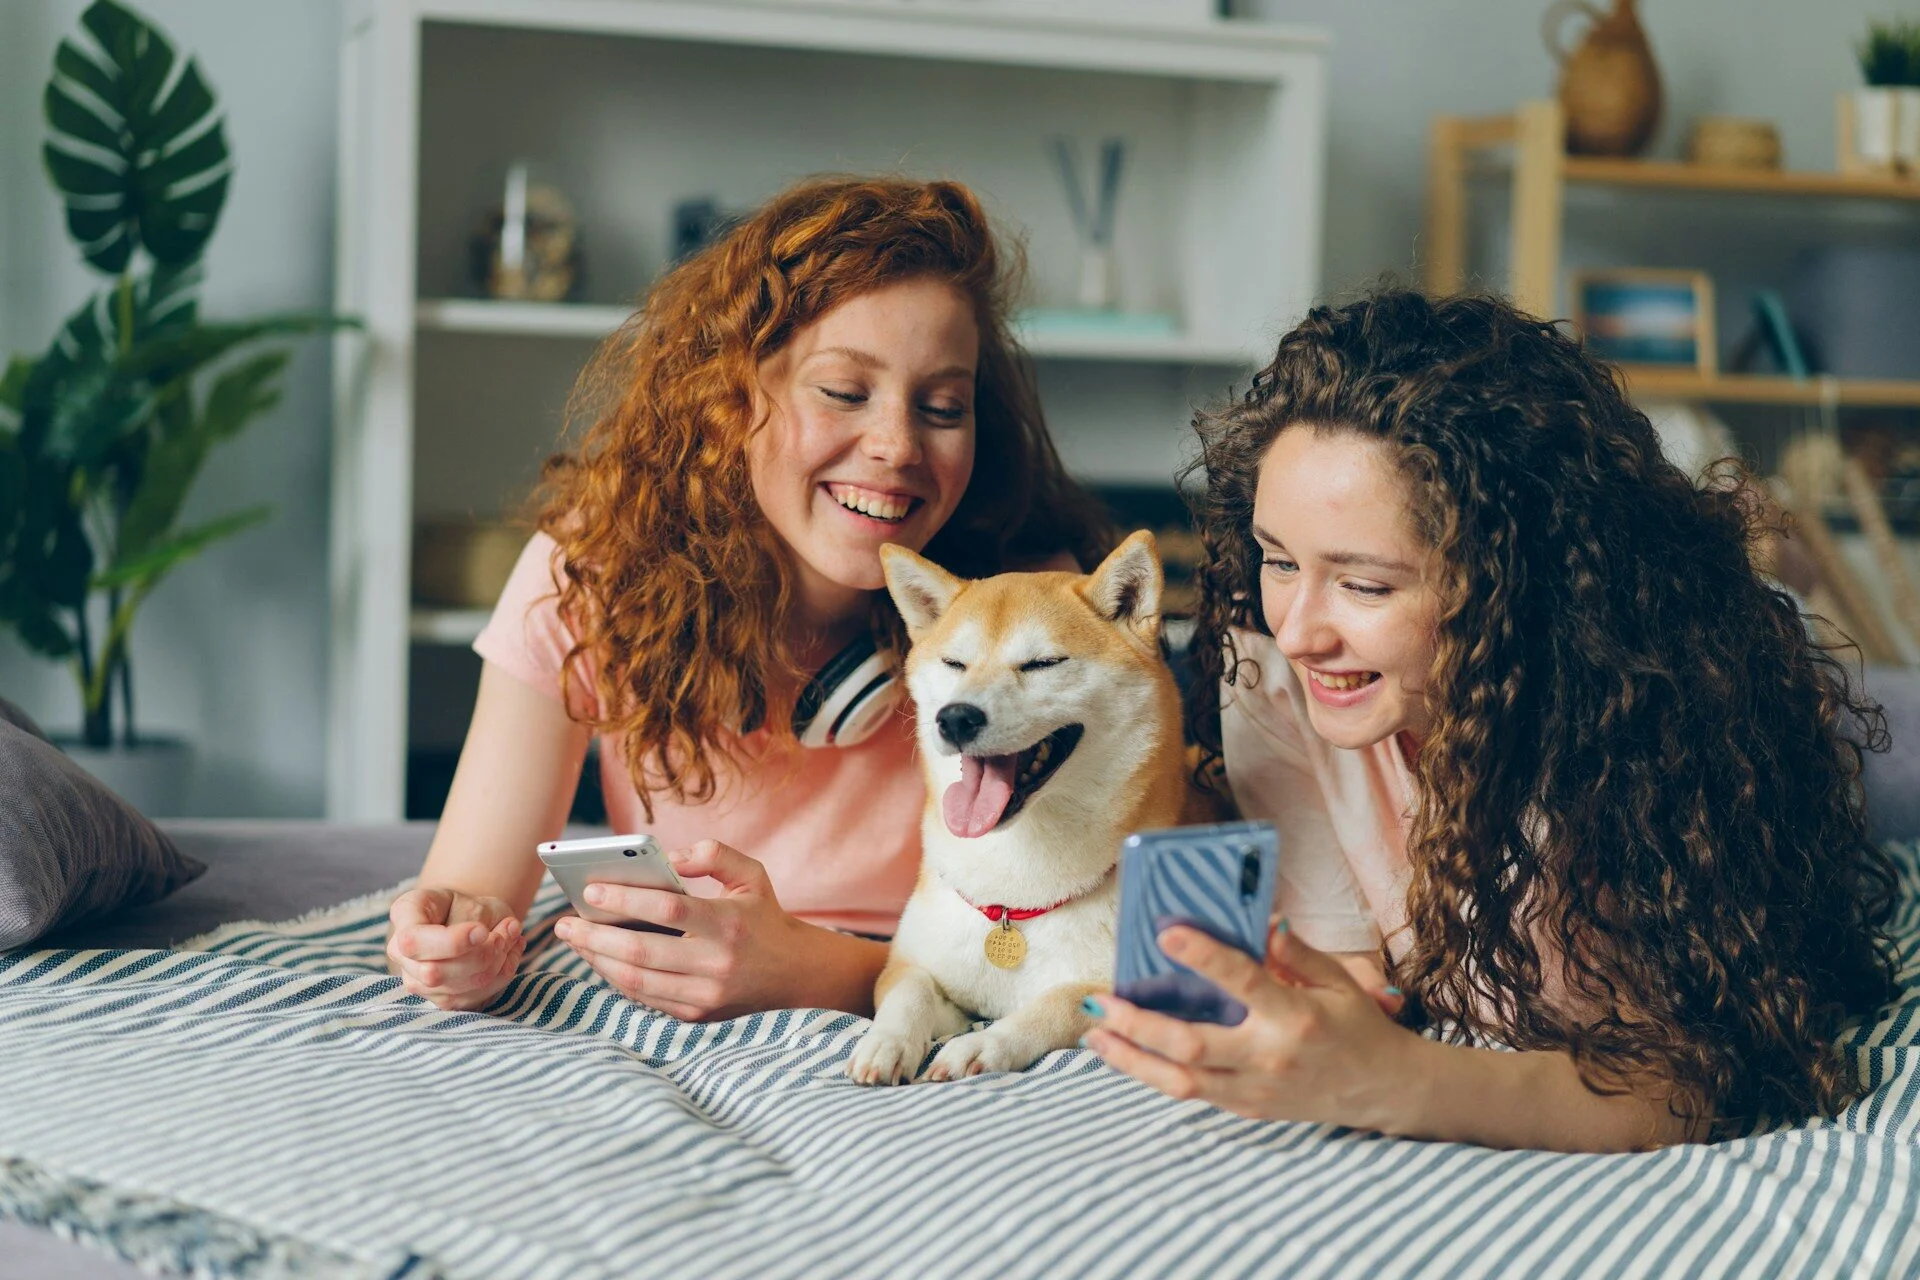
One of the most reassuring things a dog sitter, cat sitter, or dog walker can do for an owner who is away is send good photos. A well-composed, clearly focused photo of a relaxed, happy animal is worth more to an anxious pet owner than any text update. A blurry, dark shot of a vague dog shape at the back of a frame achieves the opposite.
For dog walking updates, natural outdoor light is almost always available and the principles are straightforward: get down to the dog's level, tap to focus on their face, shoot in the direction they're looking, and wait for a moment when their expression is engaged rather than distracted. For cat sitting drop-in visits, indoor lighting is the main challenge — sit near a window and use the light coming through it rather than the overhead lamp, which produces flat and unflattering light.
On Petme, sitter profiles are built around an ongoing social feed rather than a static bio. The quality of a sitter's photos — whether they show animals cared for in genuine, natural moments rather than awkward staged shots — is a real part of how pet parents evaluate a sitter before reaching out. A dog sitter who posts good photos from their dog sitting sessions builds trust passively, before any first message is ever sent. The same applies to pet owners building profiles for their own pets. For sitters looking to build out their profile, the dog sitter bio guide covers the full picture of what makes a profile stand out.
Editing without overdoing it
Light editing improves most pet photos; heavy editing makes them look processed. The adjustments worth making: exposure (if the image is slightly dark), contrast (to add depth without harshness), and sharpness (a small amount, applied selectively to the face or eyes). Cropping can rescue an otherwise good shot that has too much background or a slightly off-center subject.
What to avoid: skin-smoothing filters that soften fur texture, heavy color grading that changes natural coat colors, and anything that makes the photo look like it came from a filter pack rather than a real moment. The goal is a photo that looks like your pet on a good day, not a pet who has been digitally improved into something they're not. Free tools like Lightroom Mobile, Snapseed, or even the built-in editing tools in most smartphone photo apps are more than sufficient for this level of adjustment — specialist software is not necessary for everyday pet photography.
Frequently asked questions
1. Can I use a smartphone for pet photography?
Yes, and for most purposes a modern smartphone is entirely adequate. The main limitation is shutter speed control — burst mode partially compensates for this, but fast action in low light is harder on a phone than on a camera with manual settings. For natural light portrait work, a smartphone with a good camera produces excellent results. Dog walkers and pet sitters sending daily photo updates to owners don't need specialist equipment — a phone, good outdoor light, and eye-level framing cover most situations well.
2. How do I get my pet to look at the camera?
Make a noise that registers as interesting rather than alarming — a quiet squeak, a word they associate with something positive, or a treat briefly raised above the lens. The window is short; have the camera ready before you make the sound rather than scrambling to compose after. For cat sitting photographers, toys held just above the lens work particularly well with cats who are toy-motivated. For dogs in a dog sitting or dog walking context, their name said calmly, once, often produces a clean look toward camera.
3. How do I photograph a black cat or dark dog?
Expose for the darkest part of the coat rather than letting the camera average the whole frame. On a smartphone, tap the darkest area of fur when focusing. On a camera, apply positive exposure compensation. Use side lighting to create texture and definition in the coat, and shoot against a lighter background to create visual separation. Flat frontal light and dark backgrounds are the two most common reasons dark pets look like featureless shapes in photos.
4. What shutter speed should I use for pets?
Start at 1/500th of a second for a calm or seated pet, and increase to 1/1000th or faster for any active movement. If your camera is in Auto mode, pets will often be slightly blurred because the camera doesn't know your subject is moving. Switch to Shutter Priority (Tv or S on most cameras) and set the speed manually. On a smartphone, use burst mode as a substitute — it captures several frames per second and gives you the best frame from a sequence rather than relying on perfect timing for a single shot.
5. How important is getting down to my pet's level?
Very. It's probably the single change that improves pet photos most dramatically and costs nothing. Shooting from standing height looks down on the animal and creates a distorted perspective — the head looks large, the body foreshortened. At eye level, you're showing the animal as they actually appear to another animal. For dog sitters and cat sitters sending updates, getting down to floor level for indoor shots and kneeling for outdoor ones produces significantly better images than shooting from a standing position.
6. How do I capture my pet's personality in photos?
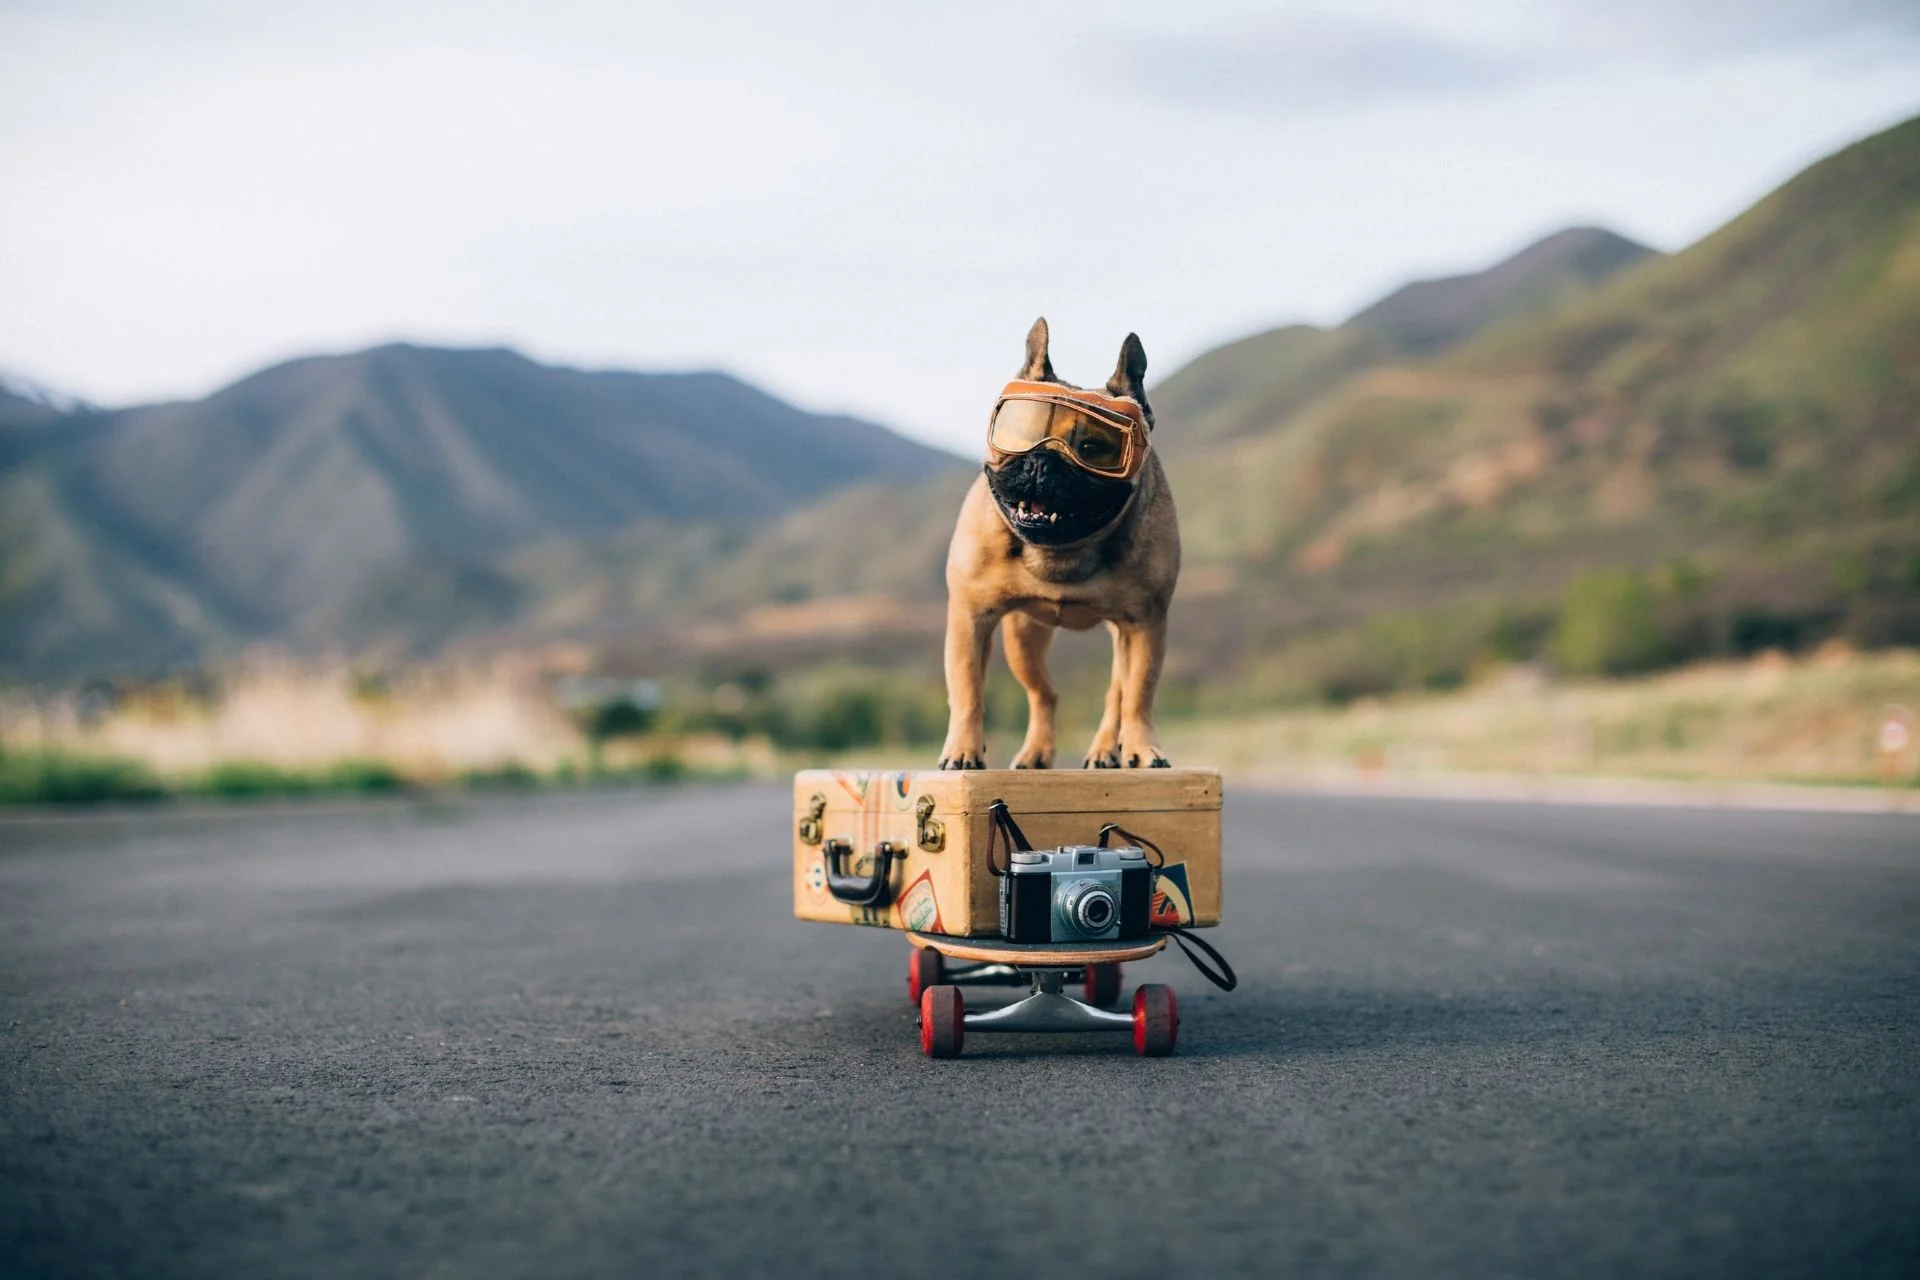
Shoot when they're genuinely themselves rather than posed. A dog mid-play, a cat in a patch of sunlight they chose themselves, a bird engaging with a toy — these candid moments capture what your animal is actually like more than any formal sit-stay pose. Patience matters more than technical skill here: keep the camera accessible and shoot opportunistically when you see a good moment, rather than engineering a setup and waiting for the animal to perform on demand. 📷
Better pet photography is mostly a matter of applying a few principles consistently rather than acquiring expensive equipment. Eye level, natural light, and fast enough shutter speed cover the majority of what separates a good pet photo from an average one. For pet sitters and dog walkers, those same principles are what turn a routine photo update into something an owner genuinely looks forward to receiving.